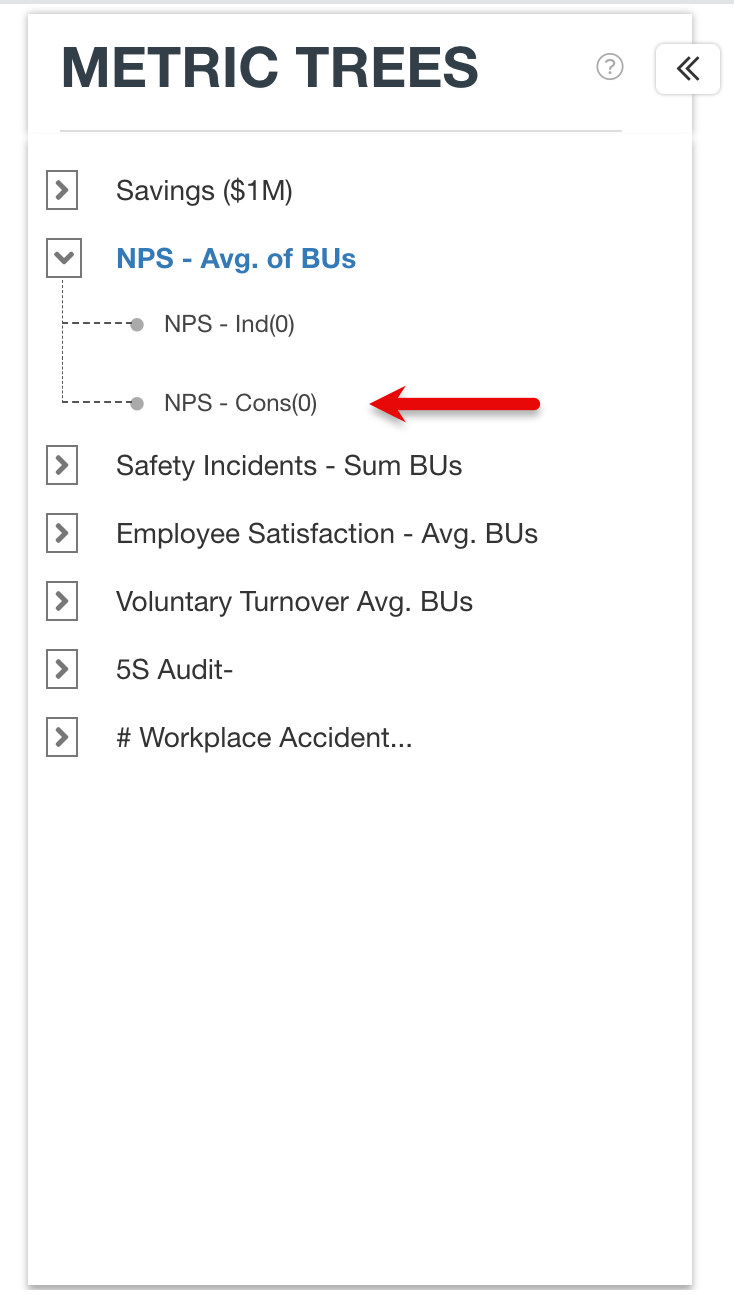
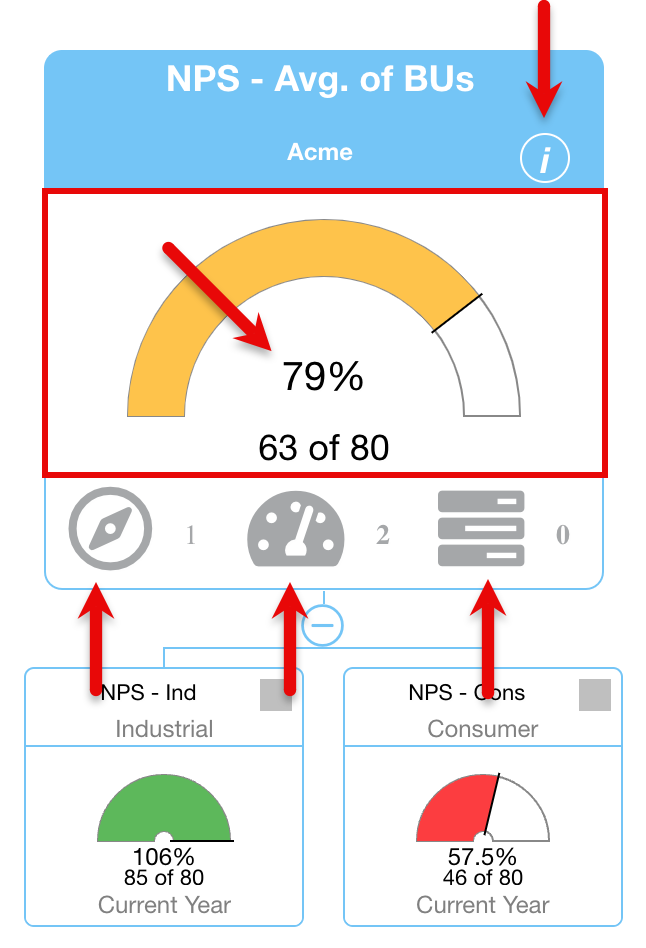
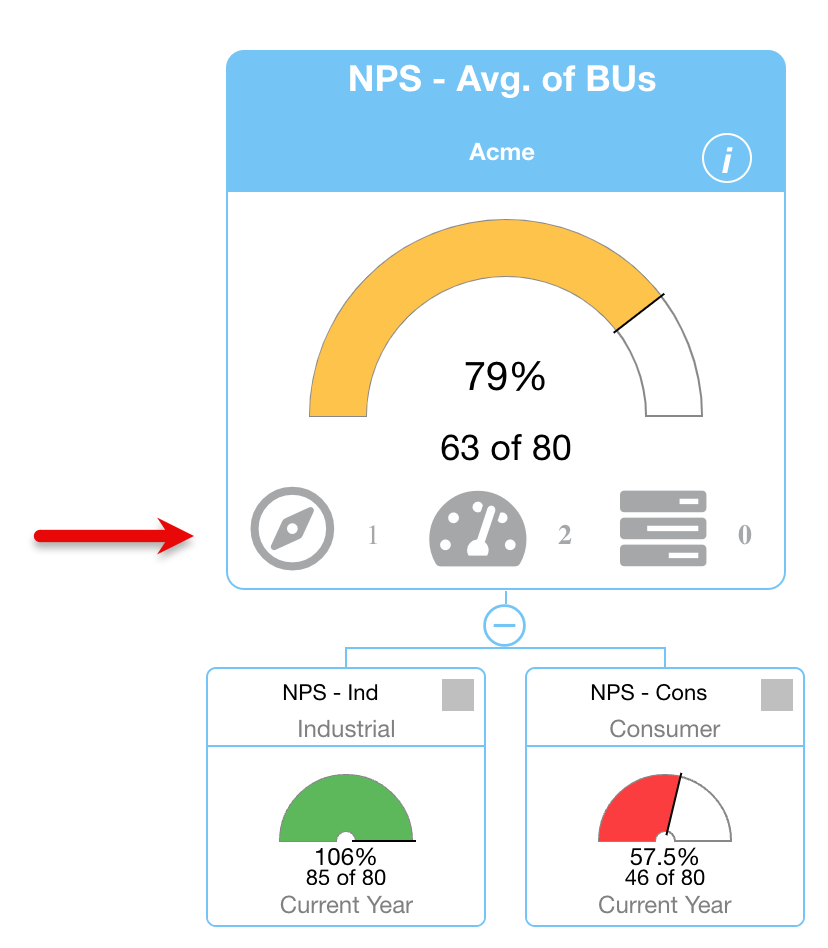
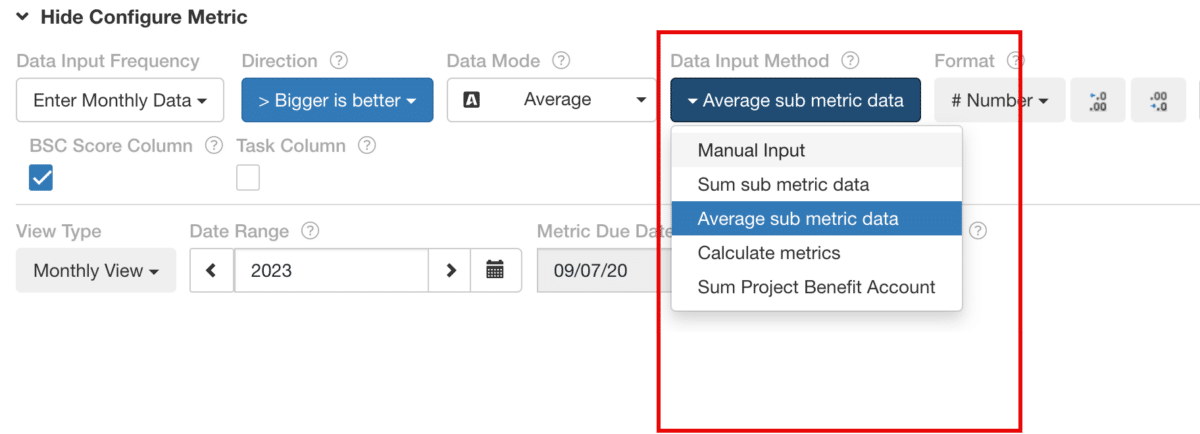
This is a guide on how to prepare, capture, edit, and share images of the product.
This post will cover:
- Preparing the Screenshot Account
- What to Screenshot
- What to Crop
- How to Use Markups Effectively
- Scale the Capture Appropriately
1. Prepare the screenshot account
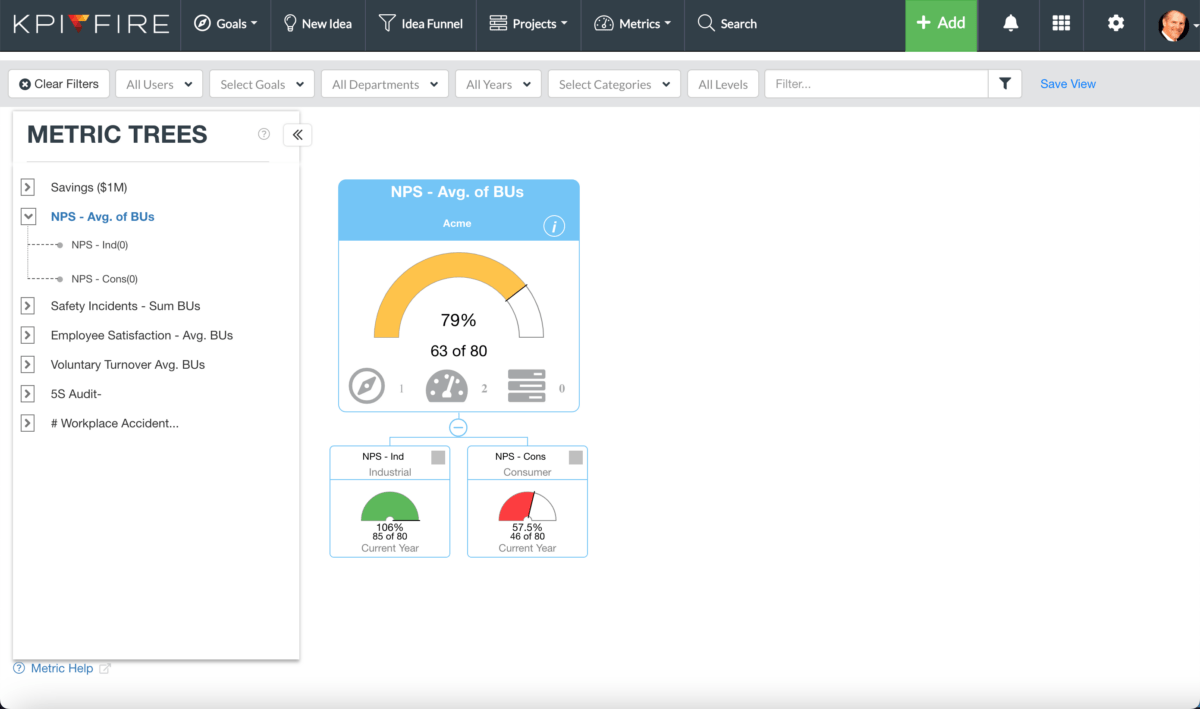
The screenshots of the SAAS product need to capture scenarios in the app that is similar to the accounts of our users. Use numbers and text that represent real-life, potential scenarios.
2. What to Screenshot
Only capture elements of the SaaS product that are relevant to the purpose of the screenshot. Exclude any unnecessary or sensitive information.
Don’t Do: Show Unnecessary Information
Do This: Show Only Relevant Information
3. What to Crop
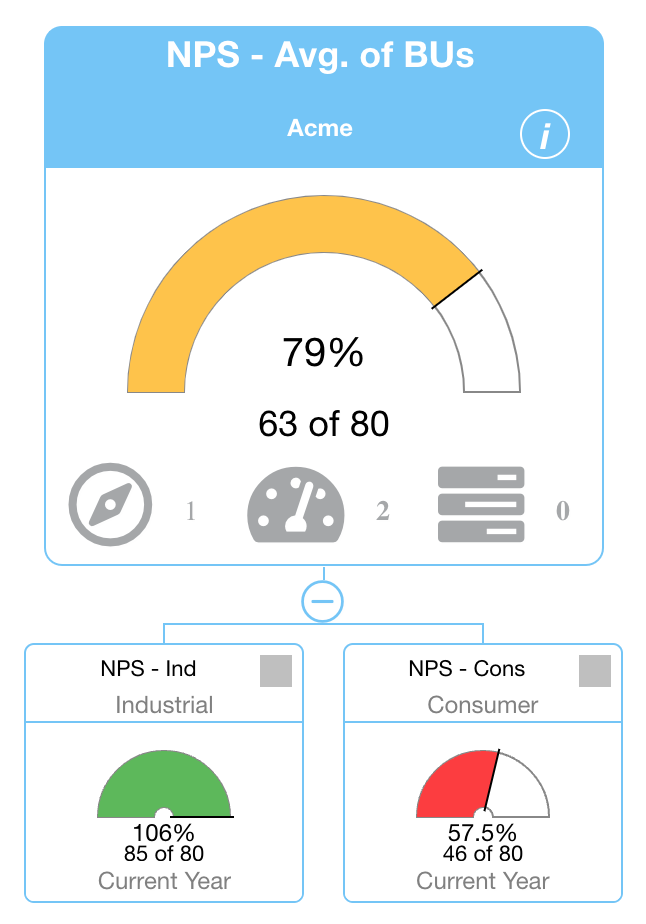
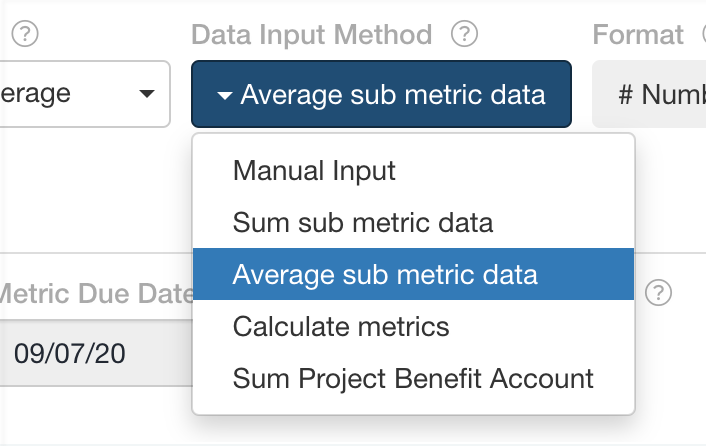
- Crop the area or feature of the app so that all relevant information is fully visible. Do not crop through text, crop around it.
Don’t do this: crop through text
Do this: Crop around text
- Avoid cropping through elements (containers, buttons, lines, etc.), instead, crop around them when possible.
Don’t do this: crop through elements
Do this: Crop around elements
- Crop evenly around objects; the top, right, bottom, and left sides should all be cropped equal distance to the outside of the object.
Don’t do: crop unevenly
Do this: Crop evenly
4. How to Use Markups Effectively
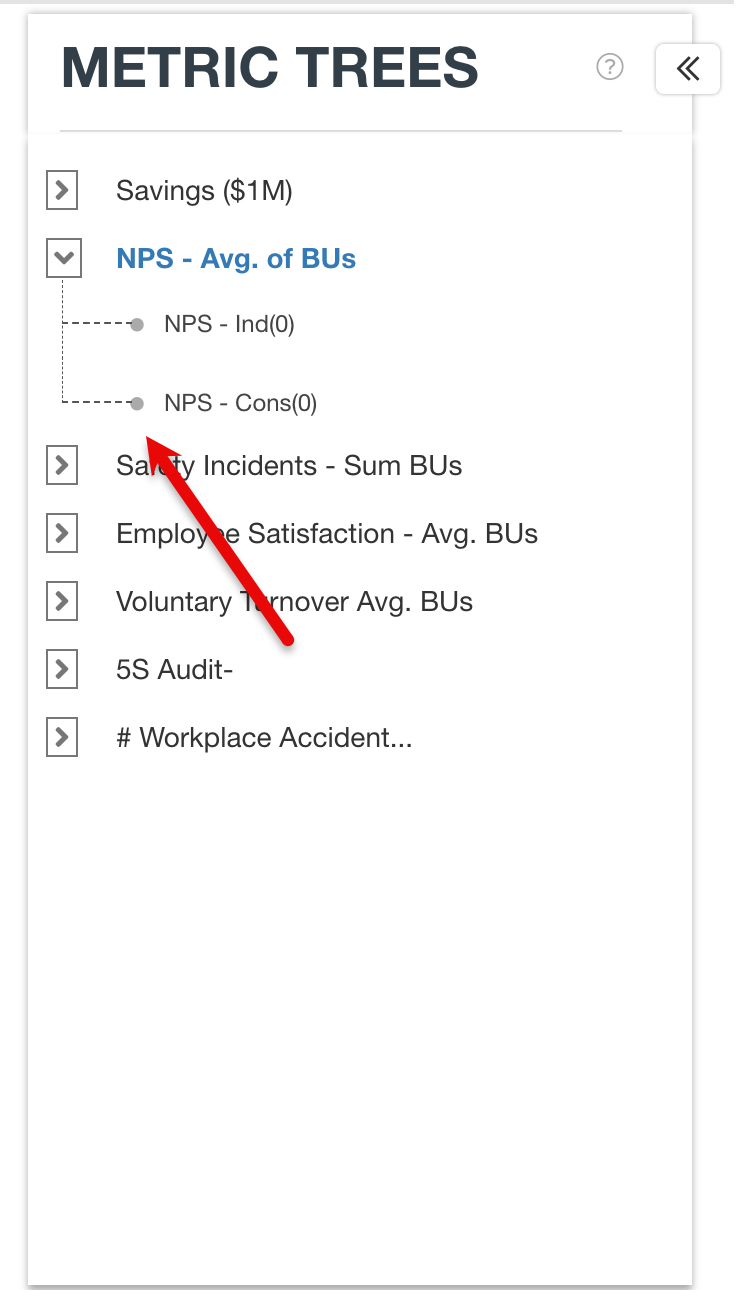
- Use markups over existing lines and shapes.
Don’t do this: create random markup shapes
Do this: Trace existing shapes with markups
- Avoid concealing text or critical parts of elements with markups.
Don’t do this: cover text or critical elements with markups
Do this: Put markups in empty space
- Use markups sparingly, too many markups can be distracting.
Don’t do this: use too many markups
Do this: Use as few markups as possible to be effective
- If using a markup shape around an object, evenly place it around the object.
Don’t do this: place shape unevenly around elements
Do this: Evenly space markups around elements
5. Scale the Capture Appropriately
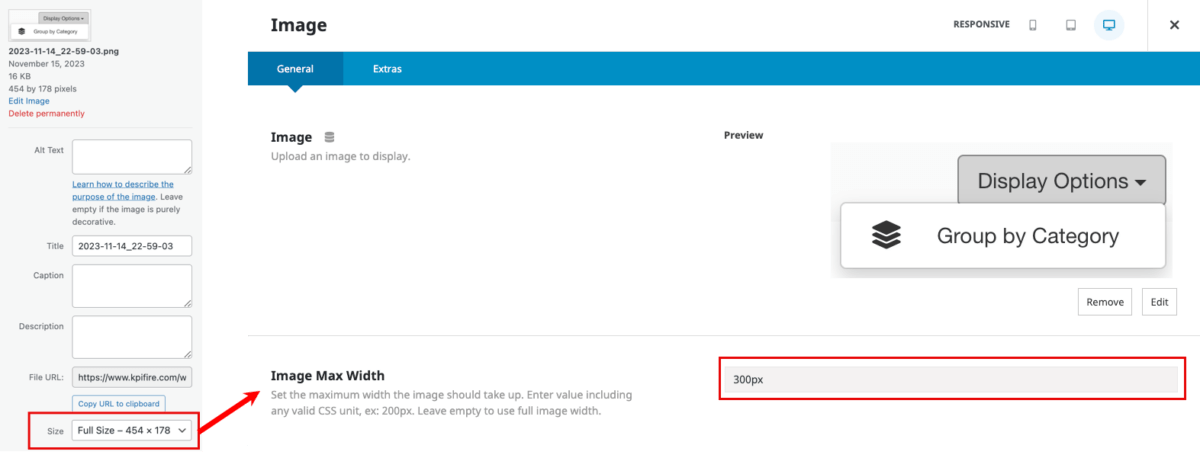
Scale the image so that the text in the image is similar in size as the body font of the post.
