This week we are enhancing that feature to allow users to create shared views that can be shared and accessed by other users in the account. This will make it easier for most users to navigate to the most used areas of the application without the need to remember complicated combinations of filters.

- Create a Saved View by selecting a set of filters and then click the ‘Save View” button. Name the Saved View. Use a name that will make it easy to for other users to recognize the purpose of the view such as: “2018 Strategic Plan”, or “Division X KPIs”, or “CI Projects” for “West Region”
- Manage the saved views access settings by clicking the cog icon.
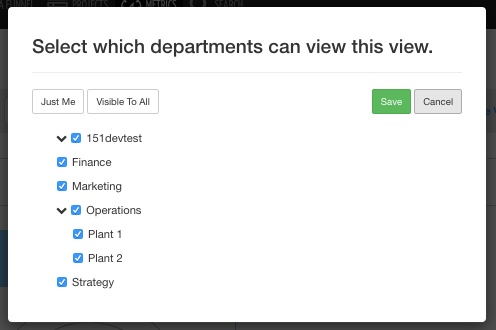
- Choose the Departments that should access the Saved View.
Other fixes in Release #151:
- Fixed an issue affecting Saved Views display with Internet Explorer 11


