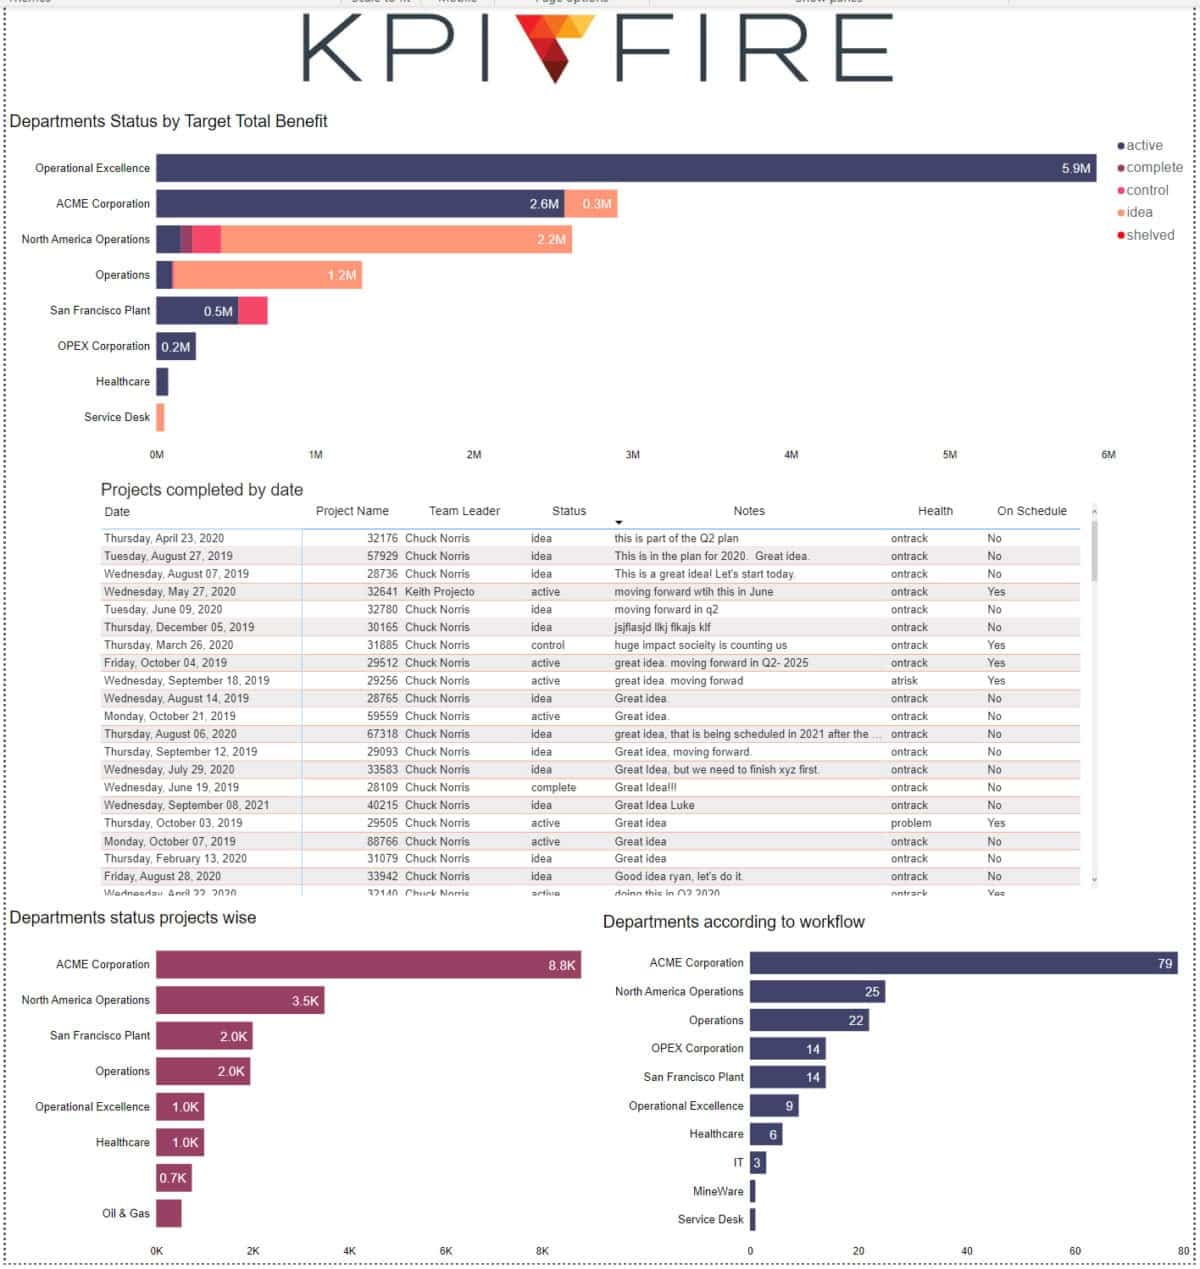
KPI Fire has a variety of very useful standard reports great for managing business improvement programs and projects. However, some customers have very unique requirements that require a custom report. Fortunately, KPI Fire offers a set of APIs that can be connected to many external data sources. This blog will show how these APIs could be used to connect to Power BI. If you have access to another data visualization tool such as Tableau, you might find these instructions helpful as well.
Enabling API access in KPI Fire and obtain a functional API KeySet
Note: You must have access to an administrator account in KPI Fire to accomplish this.
1. Log into KPI Fire.

2. Navigate to settings via the gear in the upper right corner.

3. Navigate to the API Settings via the bottom option in the left navigation list.

4. If you do not already have one, create a new API Key via the “Add New API Key” blue button in the upper middle section of the screen. You will need to give this key a name, which can be used to help organize and control access to your data in the future.

5. Click on the “Enabled” check box to activate your API key, and take note of the api-key and secret-api-key values, as you will need both of them to connect to the KPI Fire API via Power Bi or any other external API access. For the purpose of this guide, these values will be censored in the provided images. Please keep your values private as well, as these keys enable access to your data.

Access to KPI Fire API Documentation and endpoints
1. Open the KPI Fire API Documentation to view the required Rest URLs. This can be accessed from the API Settings page in the previous step, via the “View All Available APIs” link near the middle of the page, or directly from “https://app.kpifire.com/api/ext/api-docs/#/”.

2. This will open up the currently available APIs in a new tab that appears as shown below. For the purposes of this guide, we will be using the Metrics “Get data for all Metrics” endpoint as expanded in the second image. Make note of the required parameters, “api-key” and “secret-api-key”, along with the URL path required. As such, the full URL for the get all Metrics endpoint would end up being “https://app.kpifire.com/api/ext/metrics/all”. This will be shown again in the following steps.


Note: This tutorial was created with Version: 2.103.881.0 64-bit (March 2022) of Power BI. This is only available on a Windows computer.
Accessing the KPI Fire API suite from Power BI
1. Open Power BI and use the “Get Data” button to select “Web”.

2. In the “From Web” pop-up that appears, click on “Advanced” and fill the data as noted, using the URL endpoint as determined in step 2 and the “api-key” and “secret-api-key” as obtained from the KPI Fire API Settings page in the last step of “Enabling API access in KPI Fire” guide.

The following additional Headers may be required:
- content-type : application/json
- companyID: {a numerical value provided from KPI Fire. Contact support to provide}
- api-key: {a value provided from KPI Fire>Settings>API Settings}
- secret-api-key: {a value provided from KPI Fire>Settings>API Settings}
3. Click “OK” and allow Power BI time to import the data from the endpoint. You can now adjust and filter your data as needed via Power BI.

Common Fixes for potential errors
- Confirm your API key set has been enabled in the KPI Fire API Settings page.
- Confirm the URL is correctly formatted and formed as provided by the API Documentation page.
- This can be tested via the “Try it out” button on the API Documentation page, using your API Key set. If your data returns as expected via this page, the issue lies in the Power BI Settings. If the data returns incorrectly via this page, please contact KPI Fire for further assistance.
Here are some useful links to documentation that can help you learn more about how to use Power BI.
Sample File
Here is a sample file that you can use to connect to your KPI Fire account to Power BI.
Note: This sample file is configured to connect with the KPI Fire Projects api.


