How to Link a Task to Metric
Stay accountable to your metric data by creating actionable tasks for any single record of a metric.
Use Case/ Scenario: You have a Metric that you track on a regular basis. In reviewing that metric you determine that there is something that needs to be done (a task), that is related to this metric. You want to track the completion of this item and keep it related to this metric.
Steps to creating a task linked to a metric:
1. Start with a Metric
- Open a metric.
- Navigate to the data tab.
- In Configure Metric settings, select the box to display the Task Column in the data table.

2. Create a New Task
- In the Task column of the table, hover over any cell and “+ Add Task” will show.
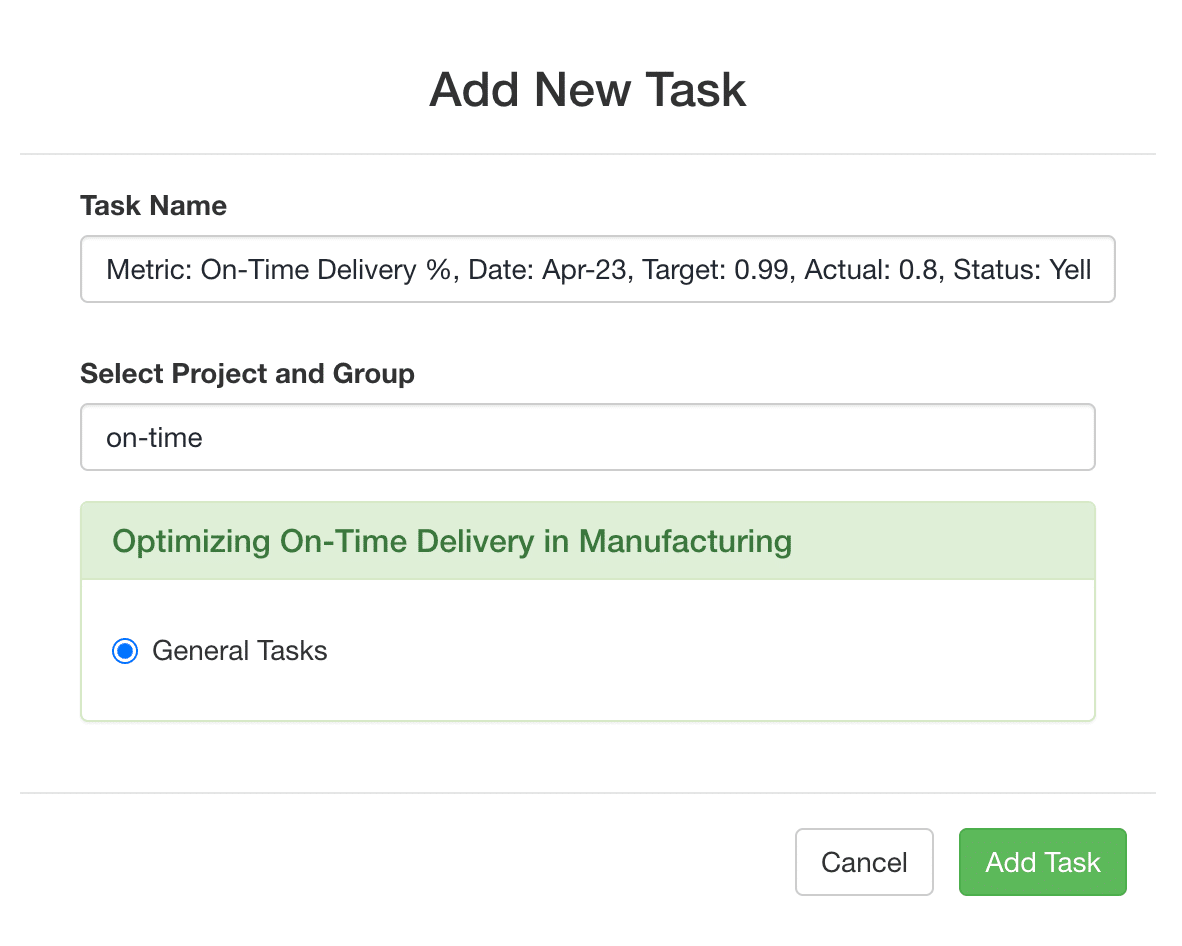
- Click on “+ Add Task” to open the new task modal.

- In the new task modal,
- Use the default metric name or replace the text.
- “Metric: [Metric name], Date: [date (formatted as in first column of data table)], [column 3 header][col 3 value], Actual: [actual value], Status (of that row): [red/yellow/green]”
- Select a Project and Group.
- Press “Add Task”
- Use the default metric name or replace the text.
- New task # will display in the data cell with the status of that task.
- Click on the linked task # to navigate to the Project Tasks view and review the task.


3. Manage the Task
- Edit and update the new task same as any other task.

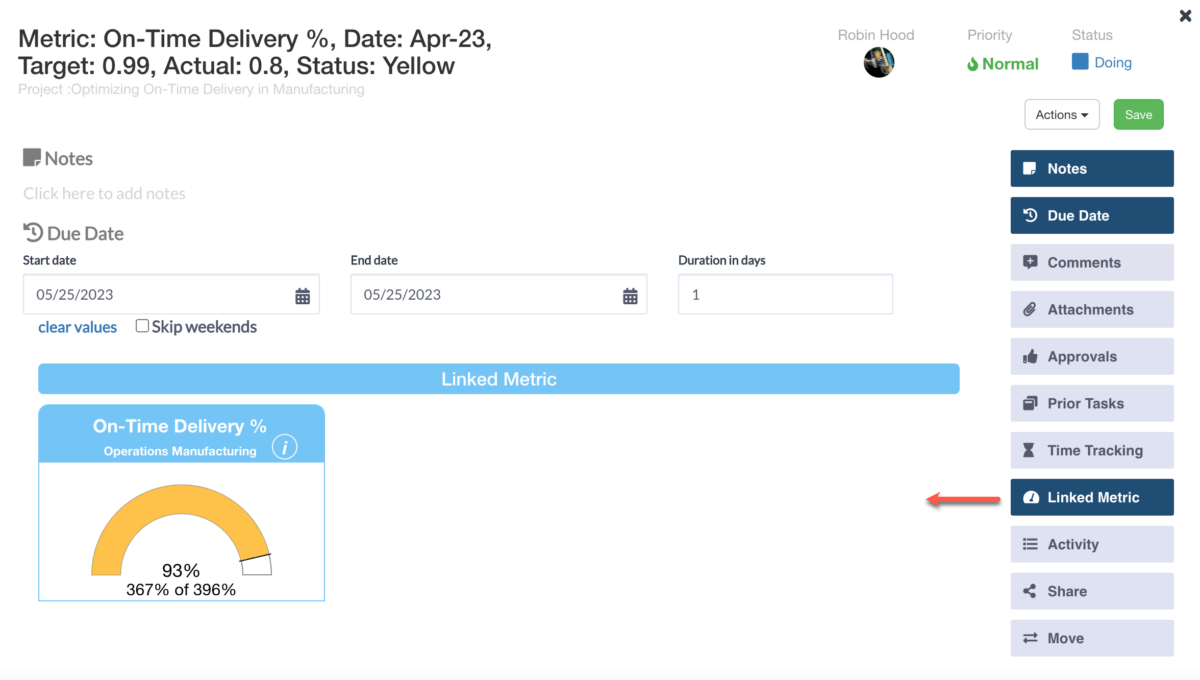
- Open the task details modal via “Edit Task.”
- In the task details modal, select the section “Linked Metrics” to display the metric that task is linked to.
- Click on the metric to open the metric from the task details modal.
- To delete the task from a metric, delete the task from the Project Tasks view.
4. Update the Metric
- In the Task column of metric data table, the status of the linked task will automatically update when the task is updated in its project.

Extra Notes
- Note: Linked tasks can be removed by deleting the task from inside its project.
- Note: If the metric input frequency is changed, the linked tasks will be deleted from the metric.

- Note: If the view type is different than the input frequency, the Task column will be hidden from the data table.


